After playing with this for a bit this afternoon…
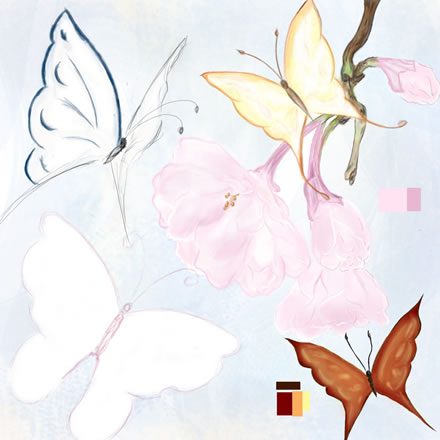
I’ve left my “swatches” layer on which is just 100% opacity of the colors I’m using which makes it easier to pick up while working (hold ALT and click on the color)
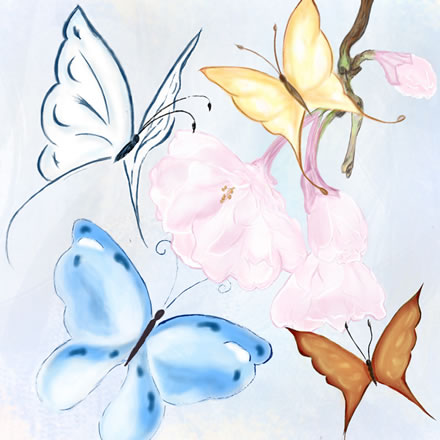
Used “Pastel Light” brushes on the petals doing abit more shading on them… I lost quite a bit of the detail when I did this as they were all on one layer.. need to go back and use the Small Pastel on Charcoal brush to add in some white and pink thin detail lines. Alot of the detail on the branch and the bottom right butterfly was done using the Small Pastel on Charcoal Paper brush as well… And a “Dry Brush” was used to add the oranges and yellows on the lower right butterfly…
Some Other Notes… My actual artboard is 6in x 6in at 300dpi so what you are seeing here is about 25% of the actual size.
I did the background first using a large “charcoal” brush with a low Opacity and quick random strokes. It is mostly blue but there is also some yellow, pink, green and gray in there… then masked that and used a large “stipple” brush to bring some back…
The orginal sketch was then put on a layer above that using a 6pt “Waxy Crayon” brush – black with about 23% opacity… once I was happy with those, on a layer below the sketches I used a soft brush at 100% opacity to make a white drawing base for the images before adding color… umm actually I think I forgot to do this on the first butterflies and blossoms but went back and did it later… you can definitely see it on the new butterflies though…
Painting I’ve been using the Pastel, Dry and Charcoal brushes.. I typically always turn on “Shape Dynamics” so the pressure of the wacom changes diameter.. I also play around with the spacing a bit…
Each butterfly has its own layer.. some have two with the base color in a bottom layer and the detail strokes in an upper one.. the blossoms and stem are all on a single layer at this point.. with the exception of the center stamens which are on a separate layer
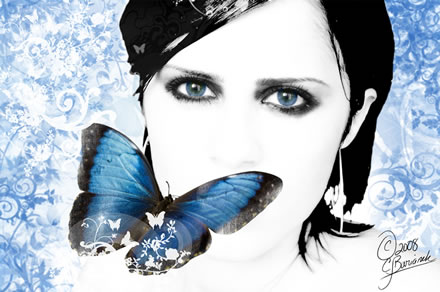
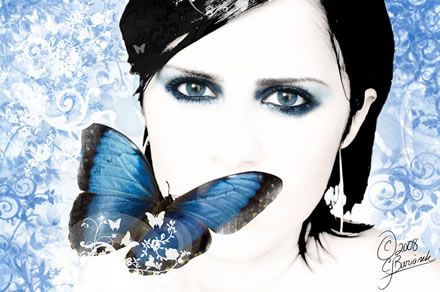
![]() so it worked… Also reminds me I still need to finish my drawing too… Incidently, the Blue Morpho Butterfly photograph is mine, it was taken at the Butterfly Conservatory in Niagara Falls.
so it worked… Also reminds me I still need to finish my drawing too… Incidently, the Blue Morpho Butterfly photograph is mine, it was taken at the Butterfly Conservatory in Niagara Falls.