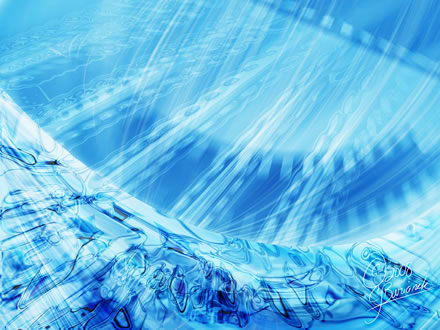
Just a quick little tutorial as to how the abstract image from Battle 119 was created.
I selected a blue and white and did a Filter>Render Fibers… to that I applied a motion blur at a slight angle giving me:
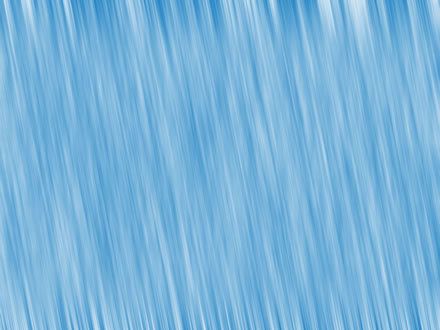
This was warped into:
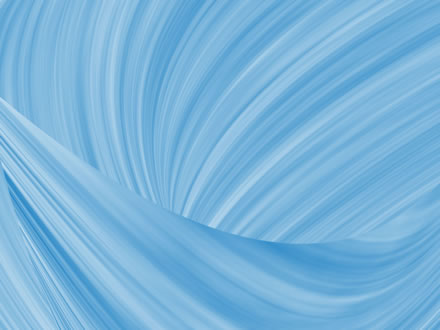
Surface blur added to just the top portion…
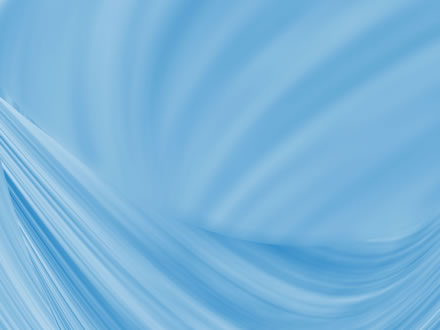
A bit of dodge and burn:
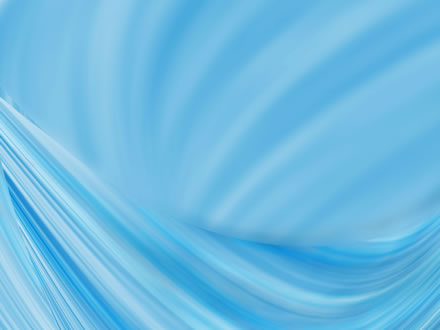
Couple duplicates of the above… warp slightly differently and then apply plastic wrap and set the blend mode to ‘lighten’:
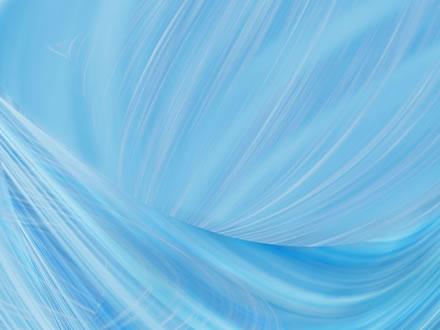
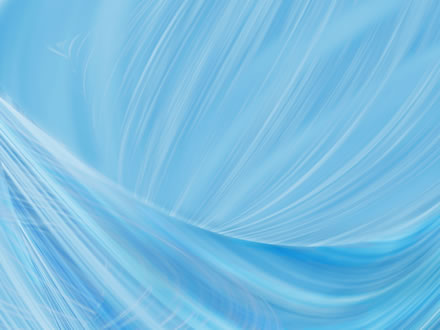
A little hue/sat and some low opacity white painted on…
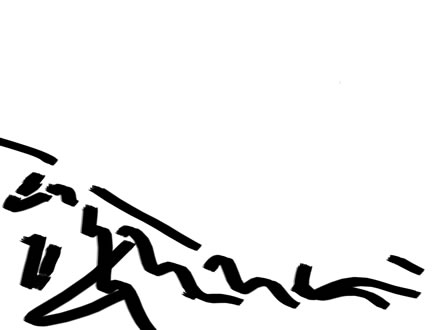
Create black squiggles on white background:
Apply Radial Blur and then Chrome Filter to the above and then set the blend mode to Color Burn:
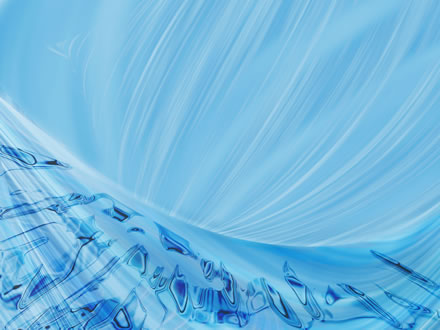
Repeat with a different set of squiggles.. but set this ones’ blend mode to soft light:
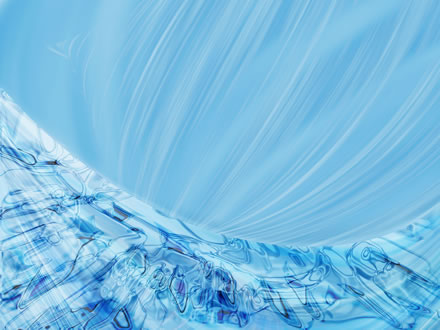
Apply Radial Blur and Chrome to something like:
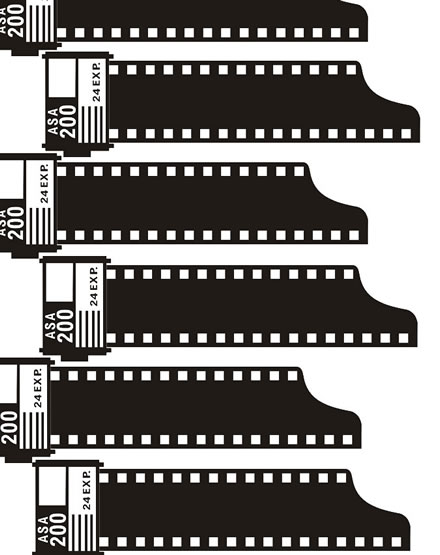
Warp this into the middle and mask however you want… set blend mode to soft light…
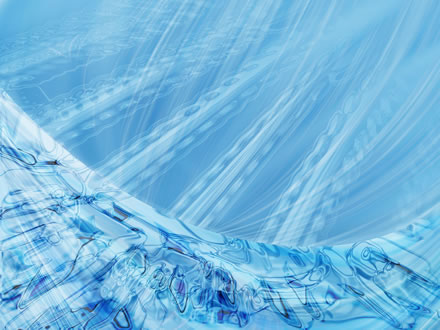
Take 3 more film strips, place one on top, one in the middle and one at the bottom… warp each individually into position, apply radial blur, and set blend mode to Soft Light
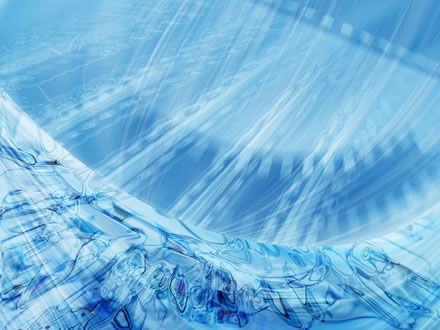
Apply curves adjustment layer and add sig 🙂
